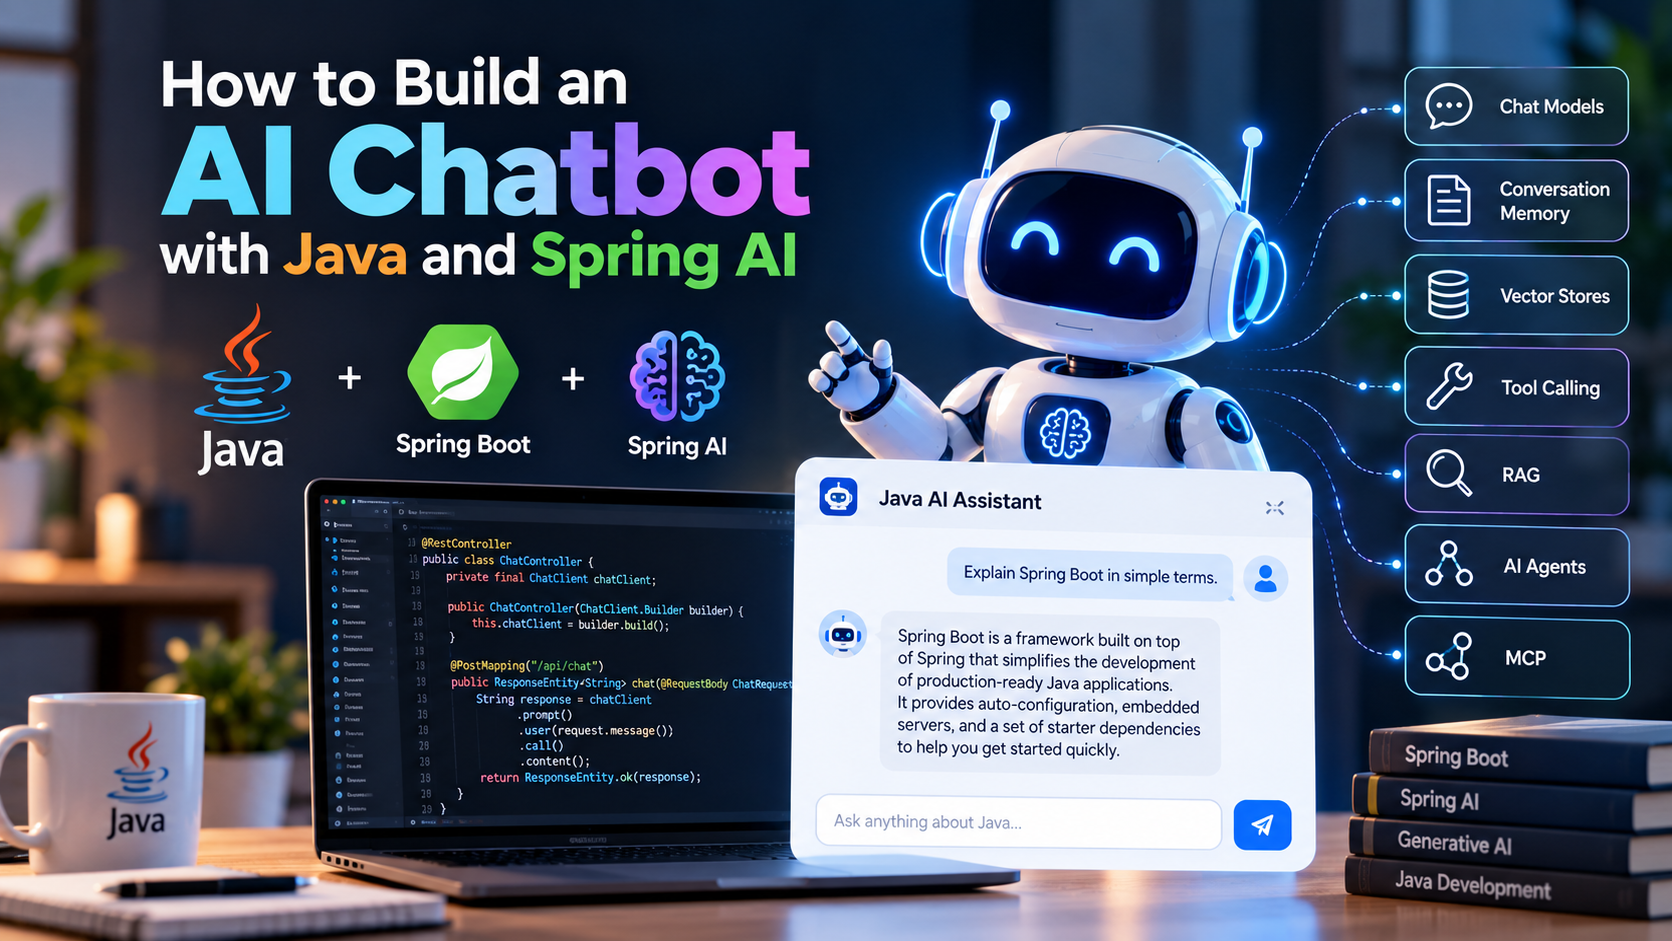
How to Build an AI Chatbot with Java and Spring AI
Artificial intelligence is becoming part of modern application development, and Java developers can now integrate AI capabilities directly into Spring Boot applications.
With Spring AI, developers can connect Java applications to AI models using familiar Spring programming patterns instead of building every integration from scratch.
In this tutorial, we'll build a simple AI chatbot using Java, Spring Boot, Spring AI, and an OpenAI-compatible chat model.
The application will expose a REST API where users can send a question and receive an AI-generated response.
Technology stack: Java, Spring Boot, Spring AI, Maven and an OpenAI-compatible AI model.
Spring AI provides the ChatClient API, which offers a fluent interface for interacting with chat models and supports both synchronous and streaming interactions.
What We Will Build
Our application will have a simple architecture:
User
↓
REST API
↓
Spring Boot
↓
Spring AI ChatClient
↓
AI Model
↓
AI Response
↓
User
For example:
User:
"Explain microservices in simple terms."
↓
Java + Spring Boot
↓
Spring AI
↓
AI Model
↓
"Microservices are an architectural approach..."
This is the foundation for more advanced applications such as AI assistants, RAG systems, AI agents and enterprise chatbots.
What Is Spring AI?
Spring AI is a Spring project designed to simplify the development of AI-powered applications.
It provides abstractions for working with AI models and common AI application patterns.
The ecosystem includes capabilities such as:
- Chat models
- Embeddings
- Vector stores
- Retrieval-Augmented Generation (RAG)
- Conversation memory
- Tool calling
- AI agents
- MCP integration
- Observability
- Model evaluation
Spring AI's documentation specifically describes ChatClient as a fluent API for communicating with AI chat models.
This means Java developers can work with AI using APIs that fit naturally into the Spring ecosystem.
Prerequisites
Before starting, you should have:
- Java installed
- Basic Java knowledge
- Basic Spring Boot knowledge
- Maven
- An IDE such as IntelliJ IDEA or VS Code
- An API key for your selected AI provider
For this tutorial, we'll use the OpenAI integration provided by Spring AI.
Spring AI's current OpenAI documentation uses the spring-ai-starter-model-openai starter and the spring.ai.openai.api-key configuration property.
Step 1: Create a Spring Boot Project
Create a new project using Spring Initializr.
Select:
Project: Maven
Language: Java
Spring Boot: 4.x
Packaging: Jar
Java: 25+
Add:
Spring Web
Spring AI OpenAI
Spring AI 2.0.x supports Spring Boot 4.0.x and 4.1.x.
You can also create the project directly from Spring Initializr, which supports selecting AI models and vector stores.
Step 2: Add the Spring AI Dependency
For Maven, use the Spring AI OpenAI starter:
<dependency>
<groupId>org.springframework.ai</groupId>
<artifactId>spring-ai-starter-model-openai</artifactId>
</dependency>
Spring AI's current documentation uses this starter for OpenAI chat-model auto-configuration.
The current Spring AI starter naming convention uses:
spring-ai-starter-model-<model>
rather than the older starter naming pattern.
Step 3: Configure Your API Key
Create:
src/main/resources/application.properties
Add:
spring.ai.openai.api-key=${OPENAI_API_KEY}
Then configure the environment variable:
OPENAI_API_KEY=your-api-key
Spring AI recommends using an environment variable or another secure mechanism instead of putting sensitive API keys directly into source code.
Don't do this
spring.ai.openai.api-key=sk-your-secret-key
if the configuration file is going to be committed to Git.
Instead:
spring.ai.openai.api-key=${OPENAI_API_KEY}
Step 4: Create the Chat Controller
Now let's create a REST controller.
package com.example.aichatbot.controller;
import org.springframework.ai.chat.client.ChatClient;
import org.springframework.web.bind.annotation.GetMapping;
import org.springframework.web.bind.annotation.RequestParam;
import org.springframework.web.bind.annotation.RestController;
@RestController
public class ChatController {
private final ChatClient chatClient;
public ChatController(ChatClient.Builder chatClientBuilder) {
this.chatClient = chatClientBuilder.build();
}
@GetMapping("/api/chat")
public String chat(
@RequestParam String message) {
return chatClient
.prompt()
.user(message)
.call()
.content();
}
}
Spring AI can auto-configure a ChatClient.Builder, which can then be injected into your Spring component.
Step 5: Run the Application
Start your Spring Boot application.
Then call:
GET /api/chat?message=What is Spring Boot?
For example:
http://localhost:8080/api/chat?message=What%20is%20Spring%20Boot?
The request flows through:
HTTP Request
↓
ChatController
↓
ChatClient
↓
AI Model
↓
ChatClient
↓
HTTP Response
The response could look like:
Spring Boot is a framework built on top of
Spring that simplifies the development of
production-ready Java applications.
You now have a basic AI chatbot.
Step 6: Add a System Prompt
A real chatbot usually needs more control over how the AI responds.
For example, suppose we're building a Java learning assistant.
We can tell the model:
You are an expert Java instructor.
Explain programming concepts clearly.
Use simple examples suitable for developers
who are learning Java.
We can configure this through the ChatClient.
@GetMapping("/api/java-assistant")
public String javaAssistant(
@RequestParam String message) {
return chatClient
.prompt()
.system("""
You are an expert Java instructor.
Explain concepts clearly and use practical
Java examples whenever appropriate.
""")
.user(message)
.call()
.content();
}
Now if the user asks:
What is dependency injection?
the model can respond specifically as a Java instructor.
Step 7: Use a Request Body Instead of a Query Parameter
For a production-style API, a POST request with JSON is generally more suitable for chatbot messages.
Create a request DTO:
package com.example.aichatbot.dto;
public record ChatRequest(String message) {
}
Then:
@PostMapping("/api/chat")
public String chat(@RequestBody ChatRequest request) {
return chatClient
.prompt()
.user(request.message())
.call()
.content();
}
The client can send:
{
"message": "Explain Java virtual threads"
}
The API returns:
Java virtual threads are lightweight threads
managed by the JVM...
Step 8: Create a Better Chatbot Prompt
You can make the chatbot more useful by giving it a clear role.
For example:
return chatClient
.prompt()
.system("""
You are a professional Java development assistant.
Your responsibilities:
- Explain Java concepts clearly.
- Provide correct and practical examples.
- Prefer modern Java practices.
- Explain complex concepts step by step.
- Mention potential performance or security issues
when relevant.
""")
.user(request.message())
.call()
.content();
This is much more useful than simply sending the user's message directly to the model.
Step 9: Add Conversation Memory
A basic chatbot treats each request independently.
For example:
User:
My name is Rahul.
Bot:
Nice to meet you, Rahul.
User:
What is my name?
Bot:
I don't know.
That's because the second request doesn't automatically contain the first conversation.
For a real chatbot, we need conversation memory.
Spring AI includes support for conversation memory and RAG-based applications.
A production chatbot can maintain:
Conversation
↓
User Message
↓
Conversation Memory
↓
AI Model
↓
Response
↓
Conversation Memory
This enables more natural multi-turn conversations.
Step 10: Add RAG to Your Chatbot
This is where a simple chatbot becomes much more useful for businesses.
Suppose Visible Campus wants an AI assistant that answers questions about its courses.
Instead of asking the AI model to answer everything from general knowledge:
User
↓
AI Model
↓
Answer
we can use RAG:
User Question
↓
Vector Search
↓
Relevant Course Information
↓
AI Model
↓
Answer
For example:
User:
What is the duration of the Java Full Stack course?
The chatbot searches the organization's course data and uses the relevant information to generate the response.
Spring AI provides support for vector stores and RAG patterns.
Step 11: Connect a Vector Database
A typical production architecture might look like:
Documents
↓
Embeddings
↓
Vector Database
↑
│
User → Question → Retrieval
↓
LLM
↓
Response
Possible vector databases include:
- PostgreSQL + pgvector
- Redis
- MongoDB
- Elasticsearch
- Pinecone
- Other supported vector stores
The choice depends on your application and infrastructure.
Step 12: Add Streaming Responses
A chatbot feels much more responsive when the answer appears progressively rather than waiting for the entire response.
Spring AI's ChatClient supports streaming interactions as well as synchronous calls.
Conceptually:
User
↓
AI Model
↓
Token 1
Token 2
Token 3
Token 4
...
Instead of:
Wait...
Wait...
Wait...
Complete response
you can stream the response to the frontend.
This is particularly useful for:
- Chat applications
- AI assistants
- Coding assistants
- Customer-support bots
- Educational assistants
Step 13: Build a Frontend
The backend we've created can be connected to:
- React
- Angular
- Vue
- Mobile applications
- Any web application
For example:
React
↓
POST /api/chat
↓
Spring Boot
↓
Spring AI
↓
AI Model
↓
Spring Boot
↓
React
A simple chat interface could contain:
┌───────────────────────────────────────┐
│ Java AI Assistant │
├───────────────────────────────────────┤
│ │
│ User: What is Spring Boot? │
│ │
│ AI: Spring Boot is a framework... │
│ │
│ User: Why should I use it? │
│ │
│ AI: It simplifies... │
│ │
├───────────────────────────────────────┤
│ Ask something... [Send] │
└───────────────────────────────────────┘
Step 14: Secure Your Chatbot
A production chatbot should not simply expose an unauthenticated endpoint.
Consider implementing:
- Authentication
- Authorization
- Rate limiting
- Input validation
- API request limits
- Logging
- Monitoring
- API-key protection
- Prompt-injection defenses
- Cost controls
For example:
User
↓
Authentication
↓
Rate Limiter
↓
Input Validation
↓
Spring Boot
↓
Spring AI
↓
AI Model
This is particularly important when the chatbot is publicly accessible.
Step 15: Monitor AI Usage
AI applications introduce additional operational concerns.
You may want to monitor:
- Number of requests
- Response latency
- Token usage
- Errors
- Model response quality
- Cost
- Rate-limit failures
- Failed requests
Spring AI also provides observability capabilities for AI-related operations.
A Production AI Chatbot Architecture
A more complete Java AI chatbot could eventually look like this:
┌───────────────┐
│ React │
│ Frontend │
└───────┬───────┘
│
↓
┌───────────────┐
│ API Gateway │
└───────┬───────┘
│
↓
┌─────────────────────┐
│ Spring Boot │
│ Application │
└──────────┬──────────┘
│
┌──────────────┼──────────────┐
↓ ↓ ↓
ChatClient Memory Security
│
↓
Spring AI
│
┌──────┴──────┐
↓ ↓
LLM Model Vector DB
│ ↑
│ RAG Search
└──────┬──────┘
↓
Response
This architecture can evolve into an enterprise AI platform.
What's Next After a Basic Chatbot?
Once you've built a basic chatbot, there are several directions you can take it.
Level 1 — Basic Chatbot
Java
+
Spring Boot
+
Spring AI
+
LLM
Level 2 — Context-Aware Chatbot
Chatbot
+
Conversation Memory
Level 3 — Knowledge-Based Chatbot
Chatbot
+
RAG
+
Vector Database
Level 4 — Action-Oriented AI
Chatbot
+
Tool Calling
+
External APIs
Level 5 — AI Agent
AI Agent
↓
Reasoning
↓
Tools
↓
APIs
↓
Database
↓
MCP
This is where Java developers can move from building simple AI chat interfaces toward more capable AI-powered applications.
Spring AI 2.x and the Future of Java AI Development
Spring AI continues to evolve rapidly.
The latest Spring AI 2.1.0-M1 milestone, released September 25, 2026, adds initial support for the OpenAI Responses API, structured message content, and writing pre-computed embeddings to vector stores. It also moves its baseline to Spring Boot 4.2. Because this is a milestone release, its APIs may still change before GA.
For a production tutorial, however, using the latest stable Spring AI release rather than a milestone is generally the safer approach.
This rapid development means Java developers can increasingly build:
- AI chatbots
- RAG applications
- AI assistants
- AI agents
- Tool-enabled applications
- MCP-based applications
- Enterprise knowledge assistants
without leaving the Java ecosystem.
Common Mistakes to Avoid
1. Hardcoding API keys
Never commit API keys to Git.
2. Sending unlimited user input
Implement validation and reasonable request limits.
3. Ignoring AI costs
Monitor token usage and model consumption.
4. Treating AI responses as guaranteed facts
AI-generated responses can contain incorrect information.
5. Building RAG without evaluating retrieval
A RAG application is only as useful as the information it retrieves.
6. Ignoring security
AI applications can introduce new security considerations, including prompt injection and unauthorized tool access.
7. Using AI without understanding the generated code
AI should assist developers, not eliminate the need for engineering review.
Final Thoughts
Building an AI chatbot with Java no longer requires developers to build an entire AI infrastructure from scratch.
With Spring Boot + Spring AI, Java developers can connect applications to AI models using familiar Spring development patterns.
The basic architecture is simple:
Java
↓
Spring Boot
↓
Spring AI
↓
AI Model
But this foundation can grow into much more sophisticated applications:
Spring Boot
↓
Spring AI
↓
RAG
↓
Vector Database
↓
Tool Calling
↓
AI Agents
↓
MCP
For Java developers in 2026, learning how to integrate AI into backend applications is becoming a practical extension of traditional Java and Spring Boot development.
The best way to learn it is to start with a simple chatbot, then progressively add conversation memory, RAG, tools, agents and MCP.